Odoo Purchase Requisitioning Module Guide#
Table of Contents#
- Introduction
- Login and Access
- Module Overview
- Creating Product Categories
- Importing and Creating Products
- Creating Vendors
- Purchase Requisition Process
- Creating a Request for Quotation (RFQ)
- Approval Process
- Sending RFQ to Vendor
- Creating Bills and Credit Notes
- User Management
- Importing Data
Introduction#
This guide explains how to use the Odoo Purchase Requisitioning Module to manage purchase requisitions, vendor relationships, and the approval process for purchase orders. The module enables efficient procurement workflows with built-in approval processes and integration with other Odoo modules.
Login and Access#
- Log in to your Odoo account
- If you don't have an account, create one first
- Once logged in, you'll be taken to the inbox interface
- To access the Purchase Module:
- Go to the home menu in the upper left corner
- Select "Apps"
- Find and open the "Purchase" application
- If not installed, click the "Install" button to add it to your applications
Module Overview#
The Purchase module dashboard provides access to several key functions:
- Configuration: Settings, vendor price lists, product categories
- Reporting: Purchase statistics
- Products: Create and manage purchasable items
- Orders: Request for quotations, purchase orders, blanket orders
- Vendors: Manage supplier information
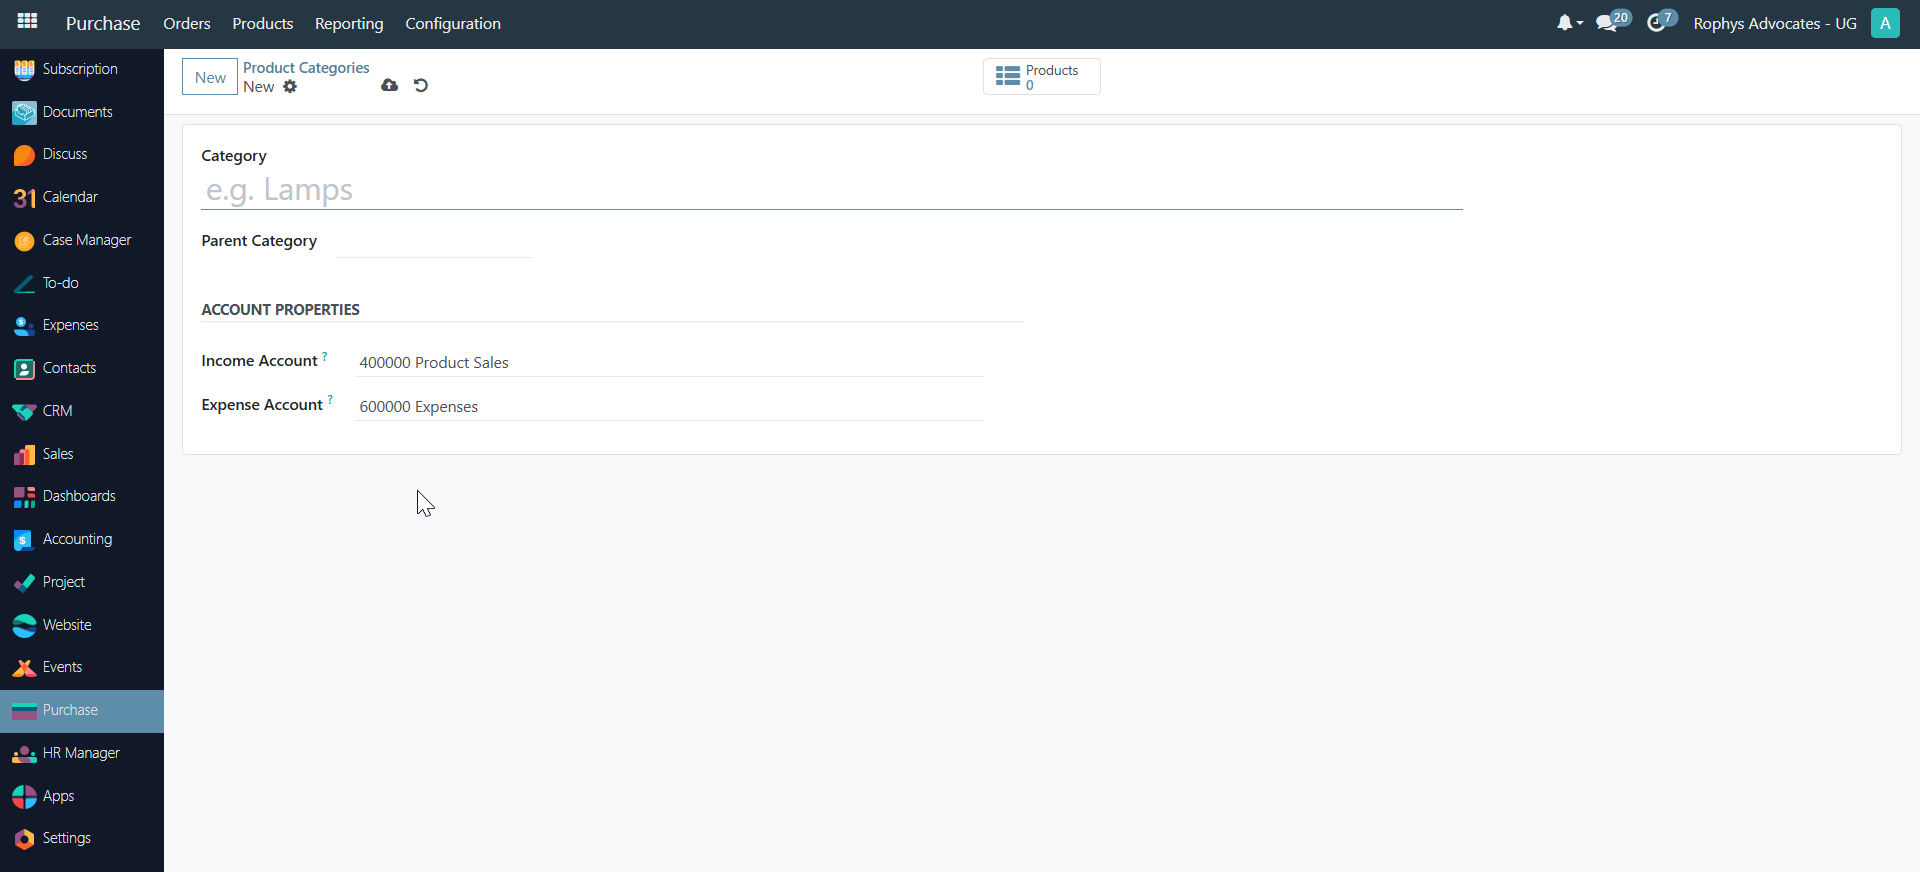
Creating Product Categories#
Product categories help organize your products in a logical structure:
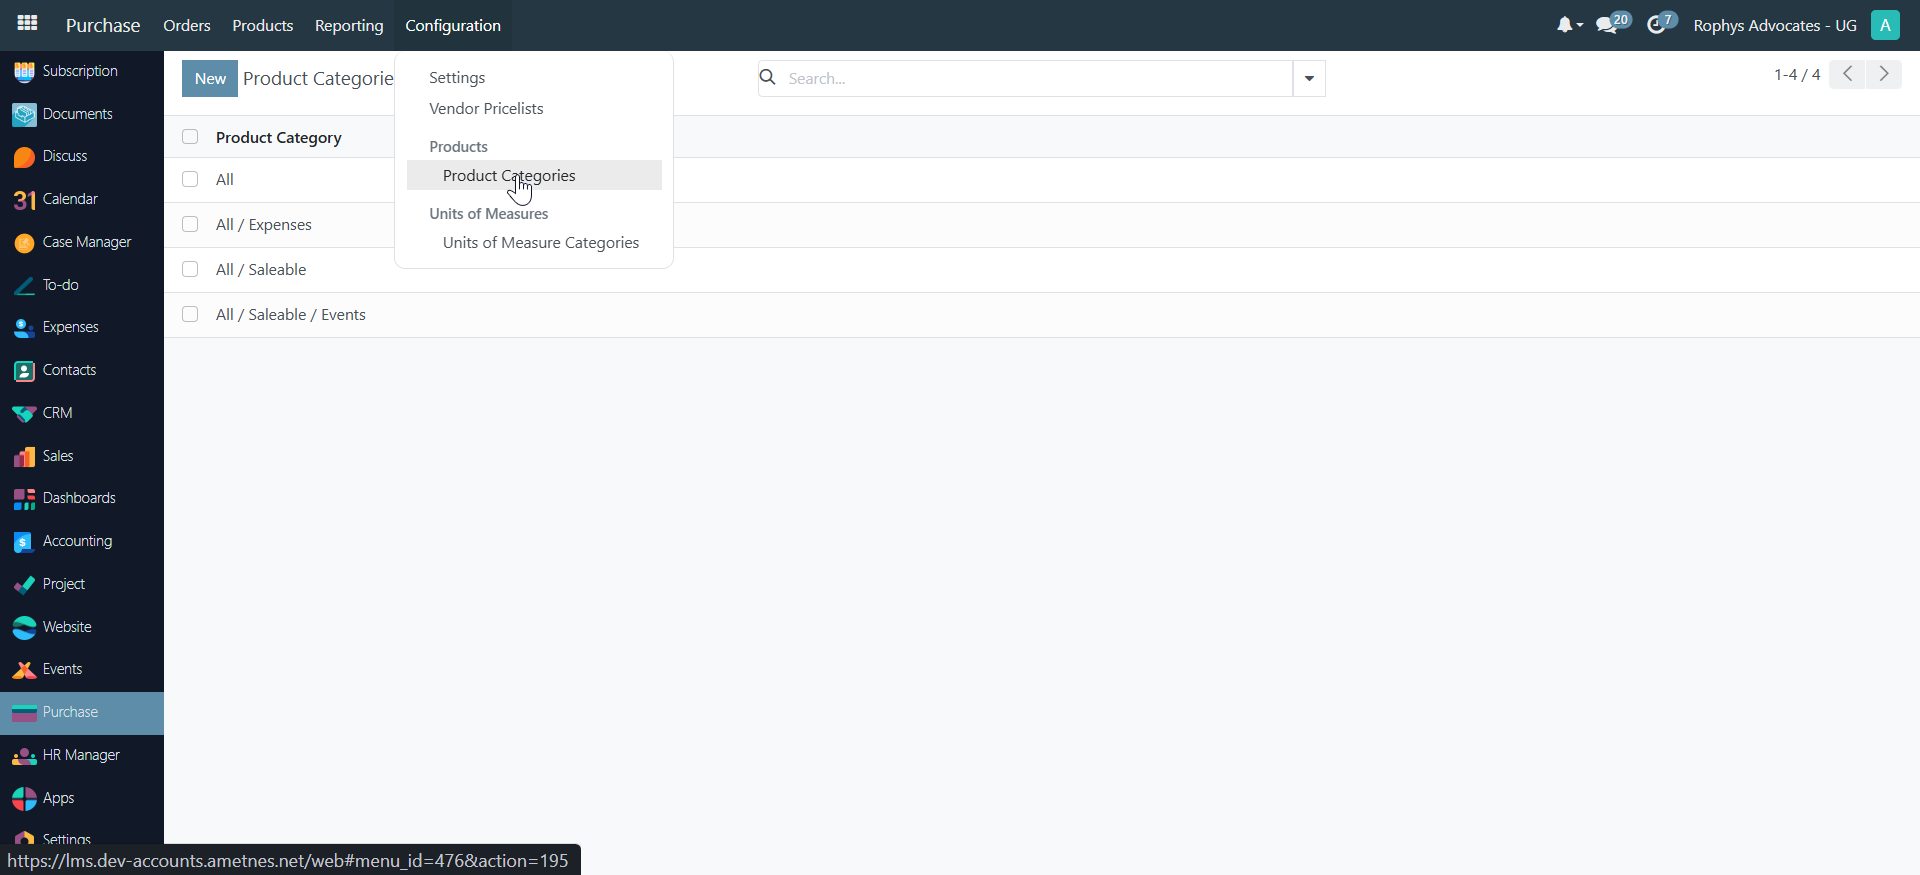
- Go to Products → Product Categories
- Click "Create" to add a new category
- Enter a name for the category (e.g., "Construction")
- Select a parent category or leave as "All" for a top-level category
- Odoo auto-saves your entries
Tip: To import multiple categories at once, use the Import function:
- Click Import
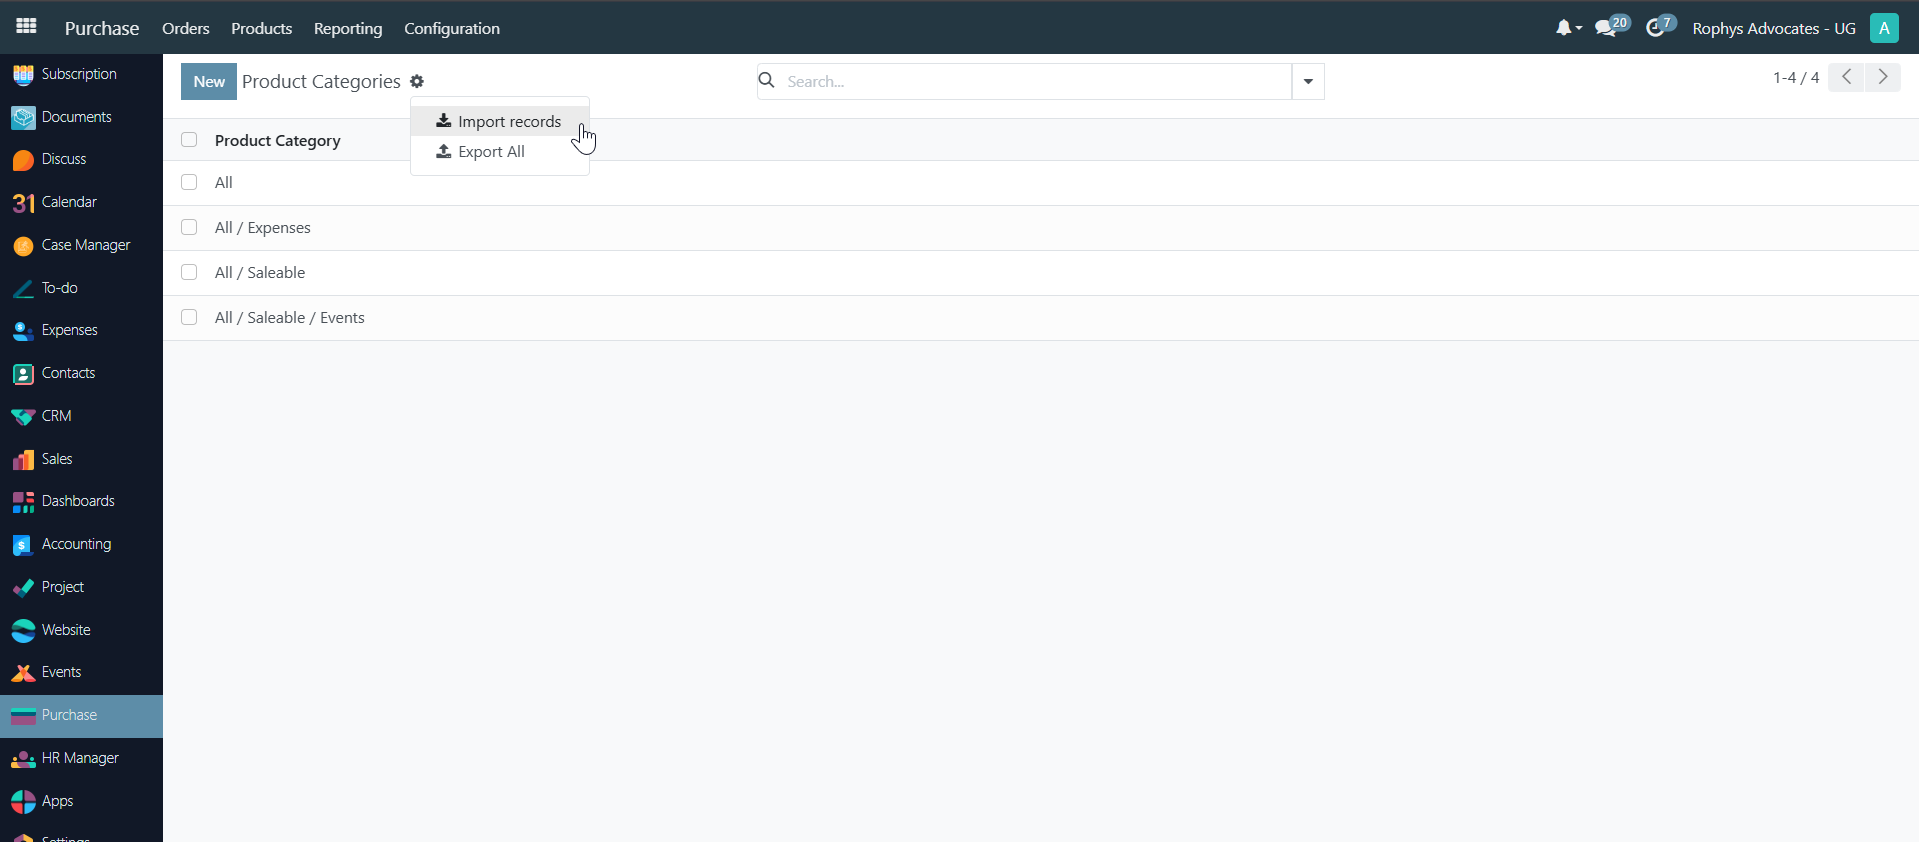
-
For best results, first export an existing category as a template
-
Follow the field structure provided by Odoo
-
Populate your template and upload it
Importing and Creating Products#
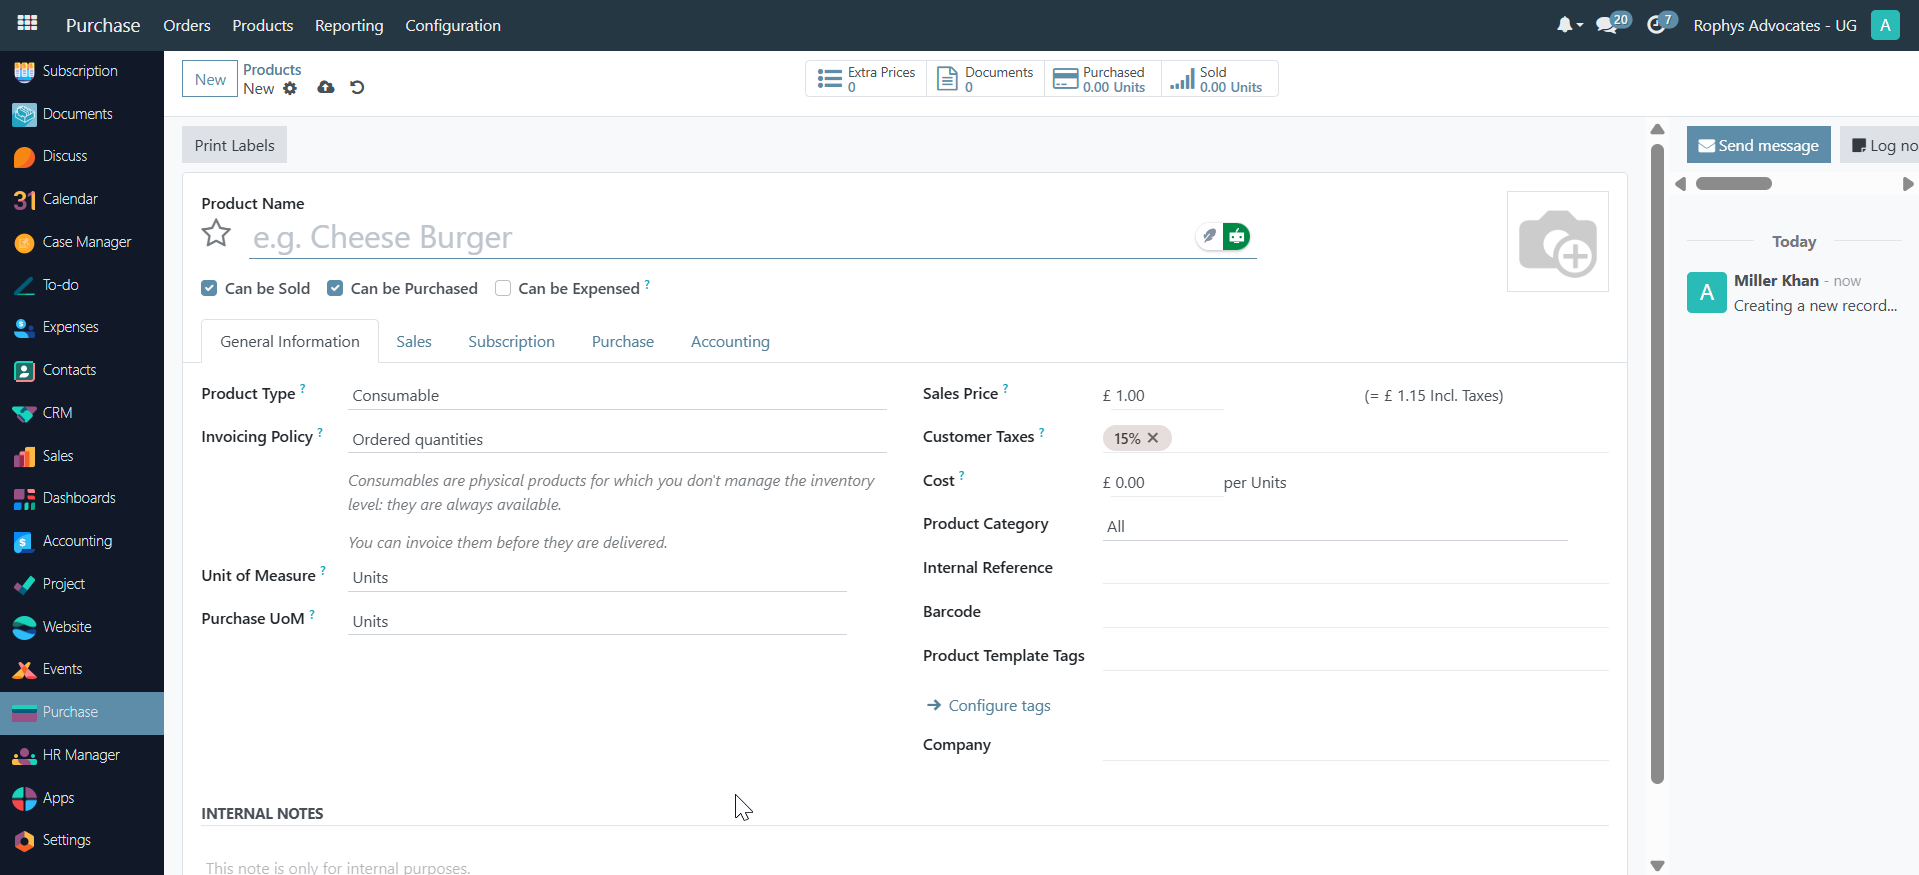
Creating Products Manually:#
- Go to Products → Products
- Click "New" to add a new product
- Enter the product details:
- Product name (e.g., "Chair")
- Product type (Consumable or Service)
- Sales price
- Cost price
- Category (e.g., "Furniture")
- Optional: internal reference, barcode, tags
-
Optional: add an image
-
Odoo auto-saves your entries
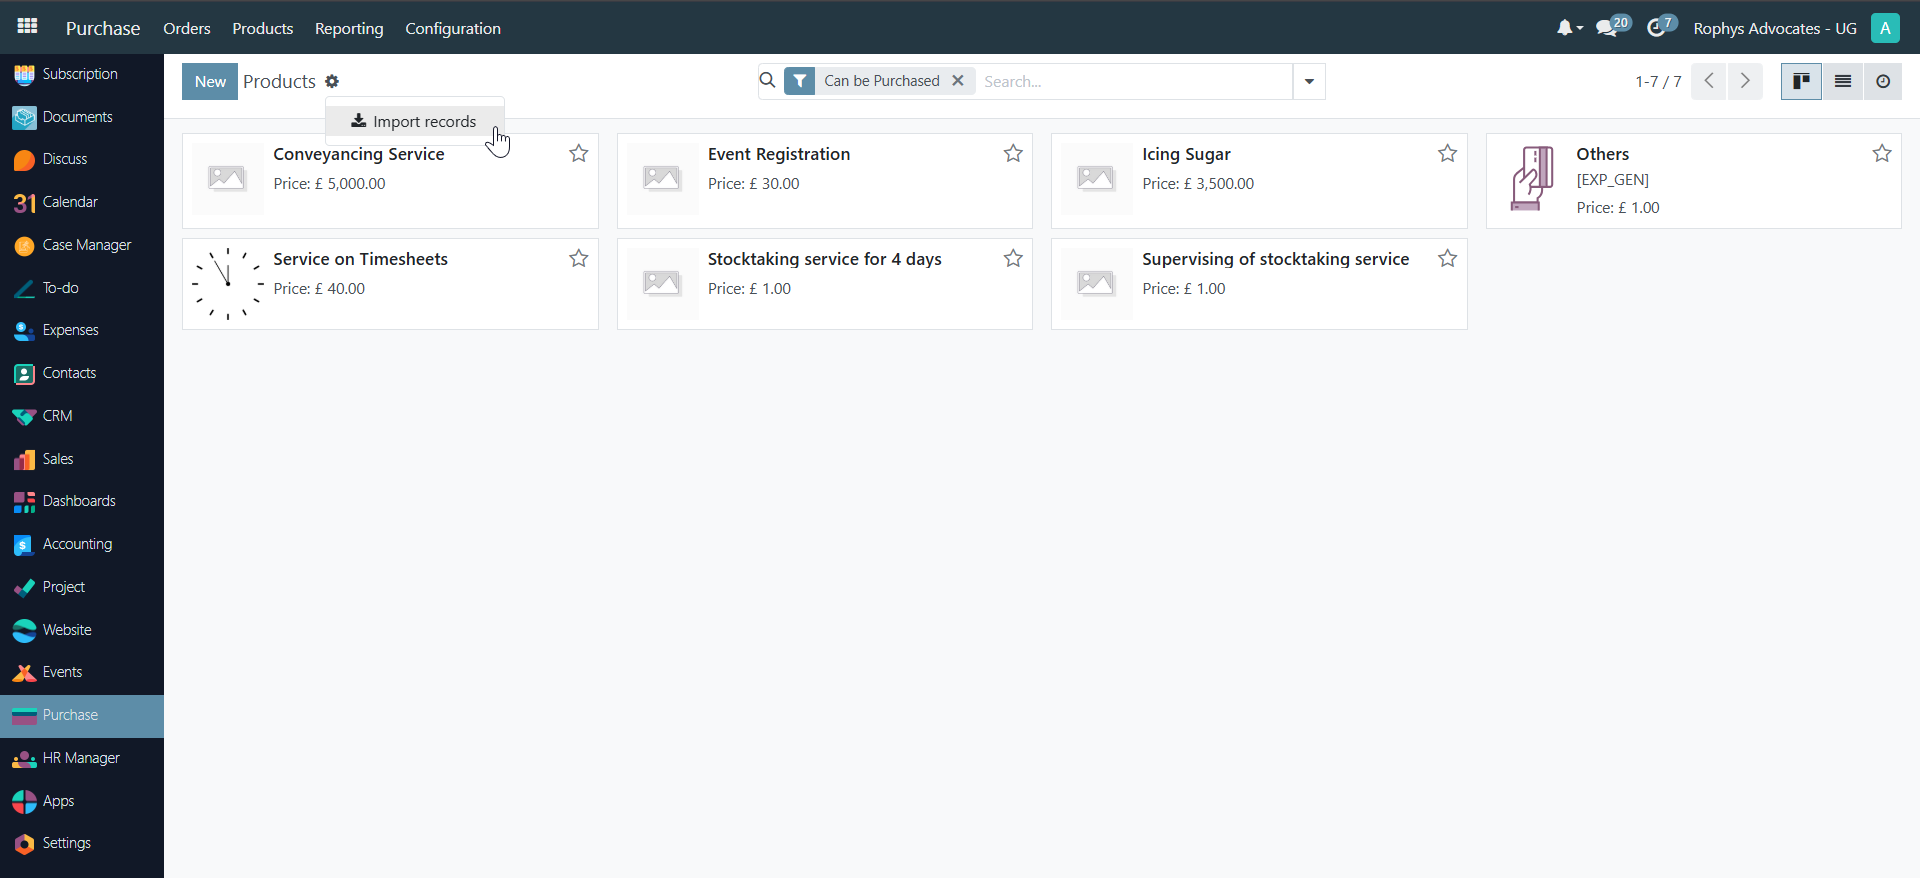
Importing Products:#
-
Go to Products → Products
-
Click "Import"
-
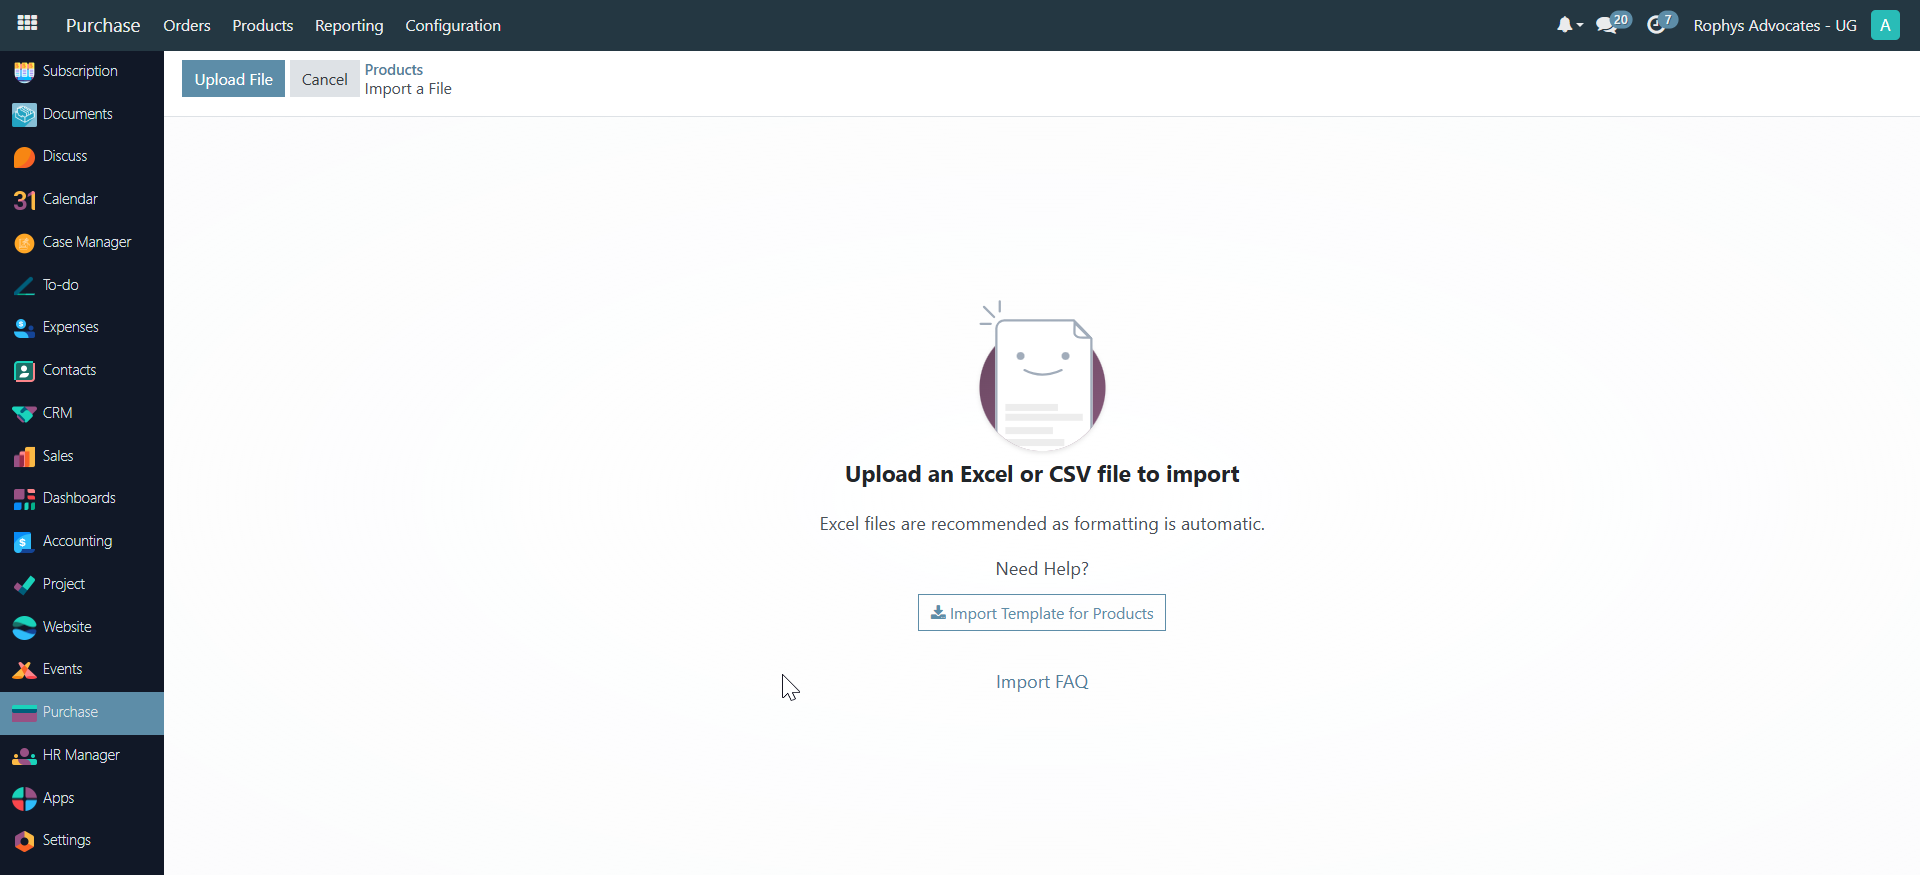
Download the template provided by Odoo
-
Populate the template with your product data
- Upload the completed template
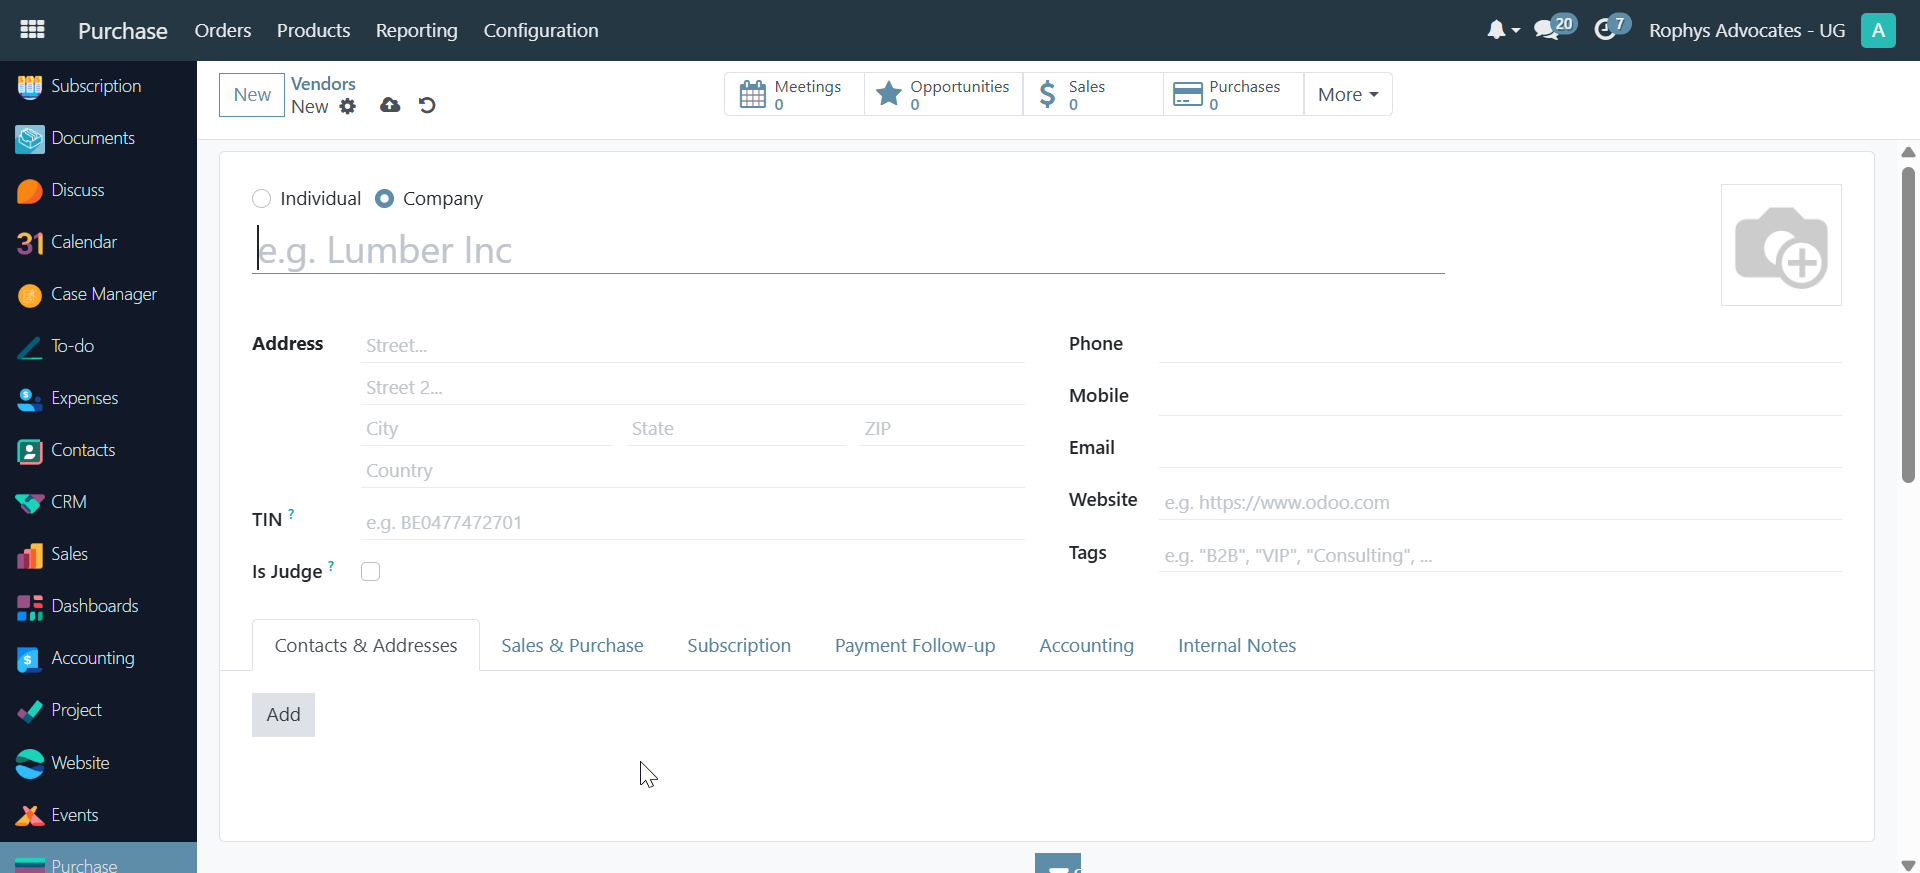
Creating Vendors#
-
Go to Orders → Vendors
-
Click
Newto add a new vendor -
Choose between Company or Individual
-
Enter vendor details:
- Name
- Company (if applicable)
- Position (e.g., "Sales Director")
- Contact information (phone, email, website)
- Optional: add an image
- Odoo auto-saves your entries
Tip: To import multiple vendors, use the Import function with the provided template.
Purchase Requisition Process#
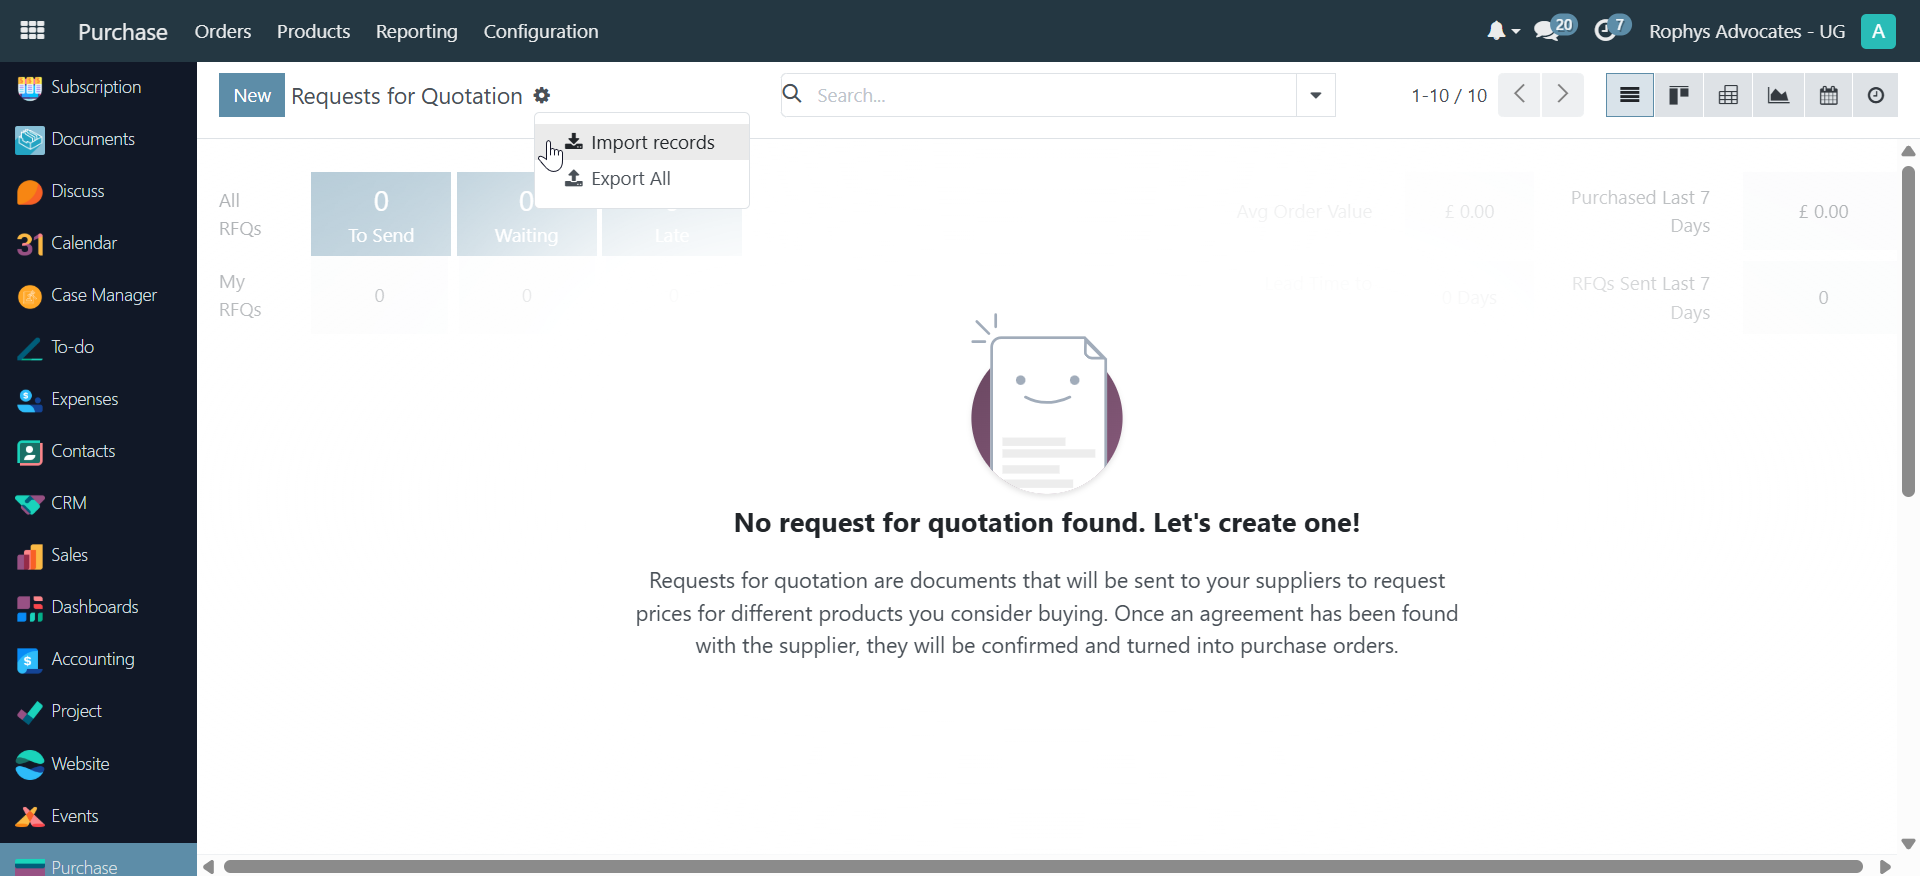
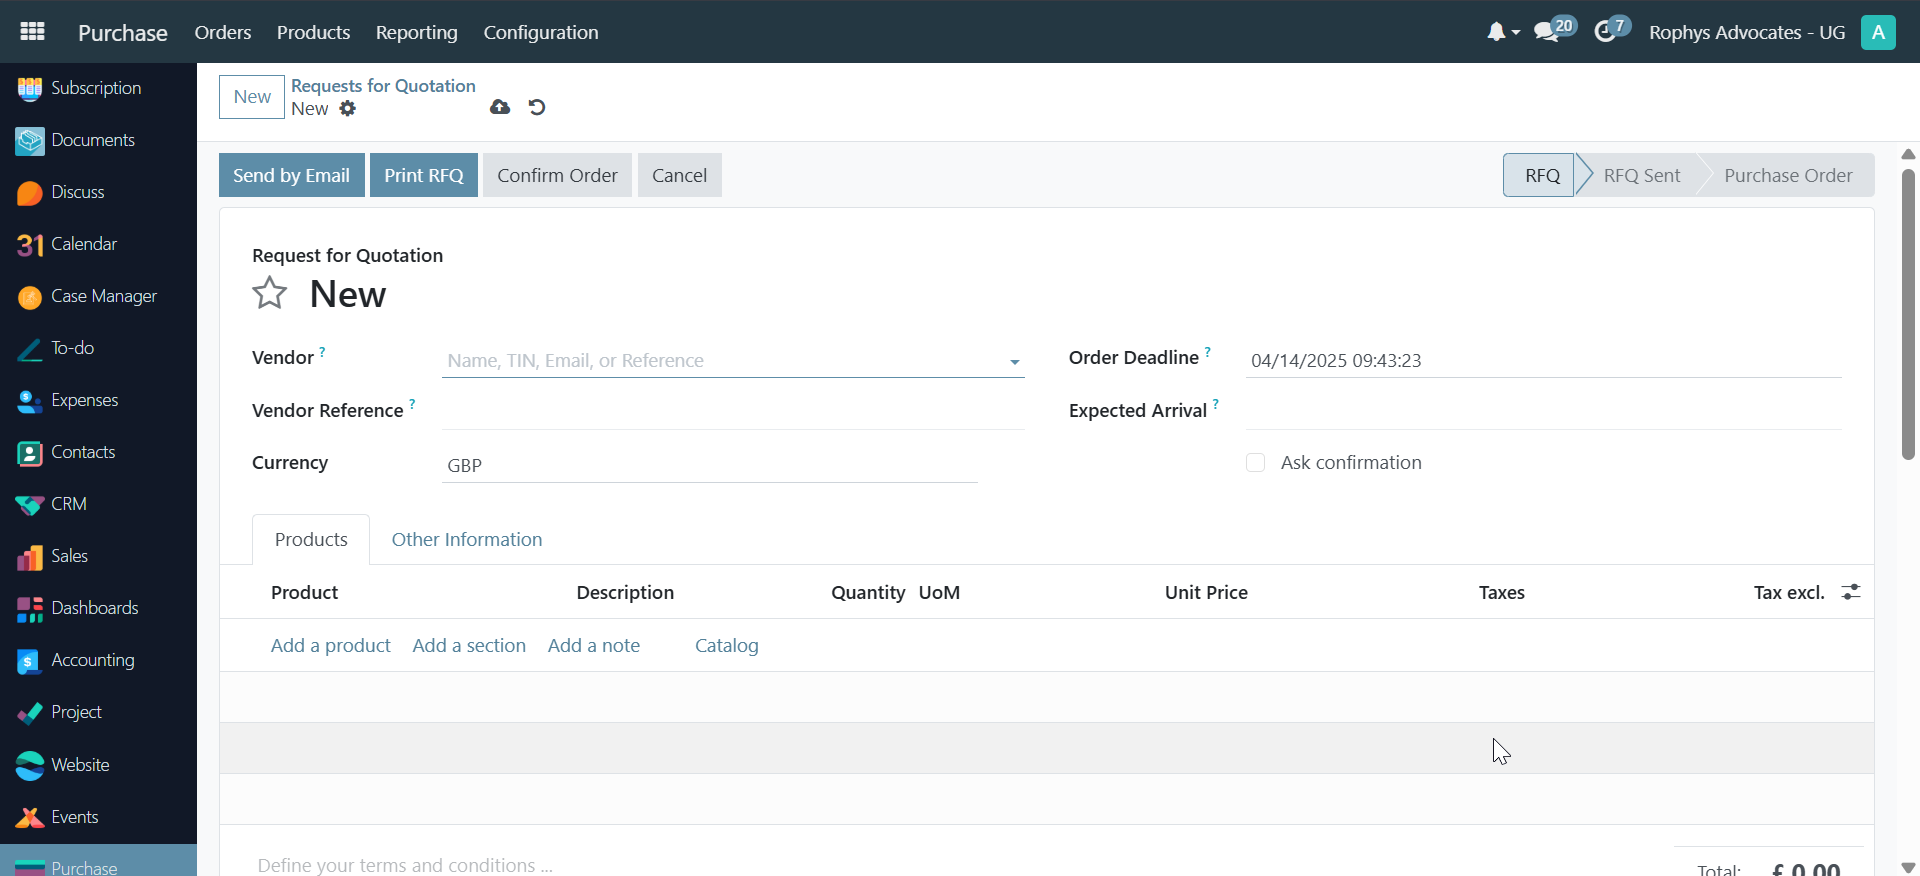
Creating a Request for Quotation (RFQ)#
-
Go to Orders → Requests for Quotation
-
Click "New" to start a new RFQ
-
Fill in the RFQ details:
- Select a vendor
- Optional: add vendor reference
- Set currency
- Set expected arrival date
- Add products to the RFQ:
- Select product(s)
- Set quantity
- Verify unit price
- Odoo automatically calculates totals (tax exclusive and inclusive)
- Save the RFQ
Approval Process#
Odoo supports delegation of approval responsibilities:
- After creating an RFQ, share it with another user for confirmation:
-
Click "Share" button
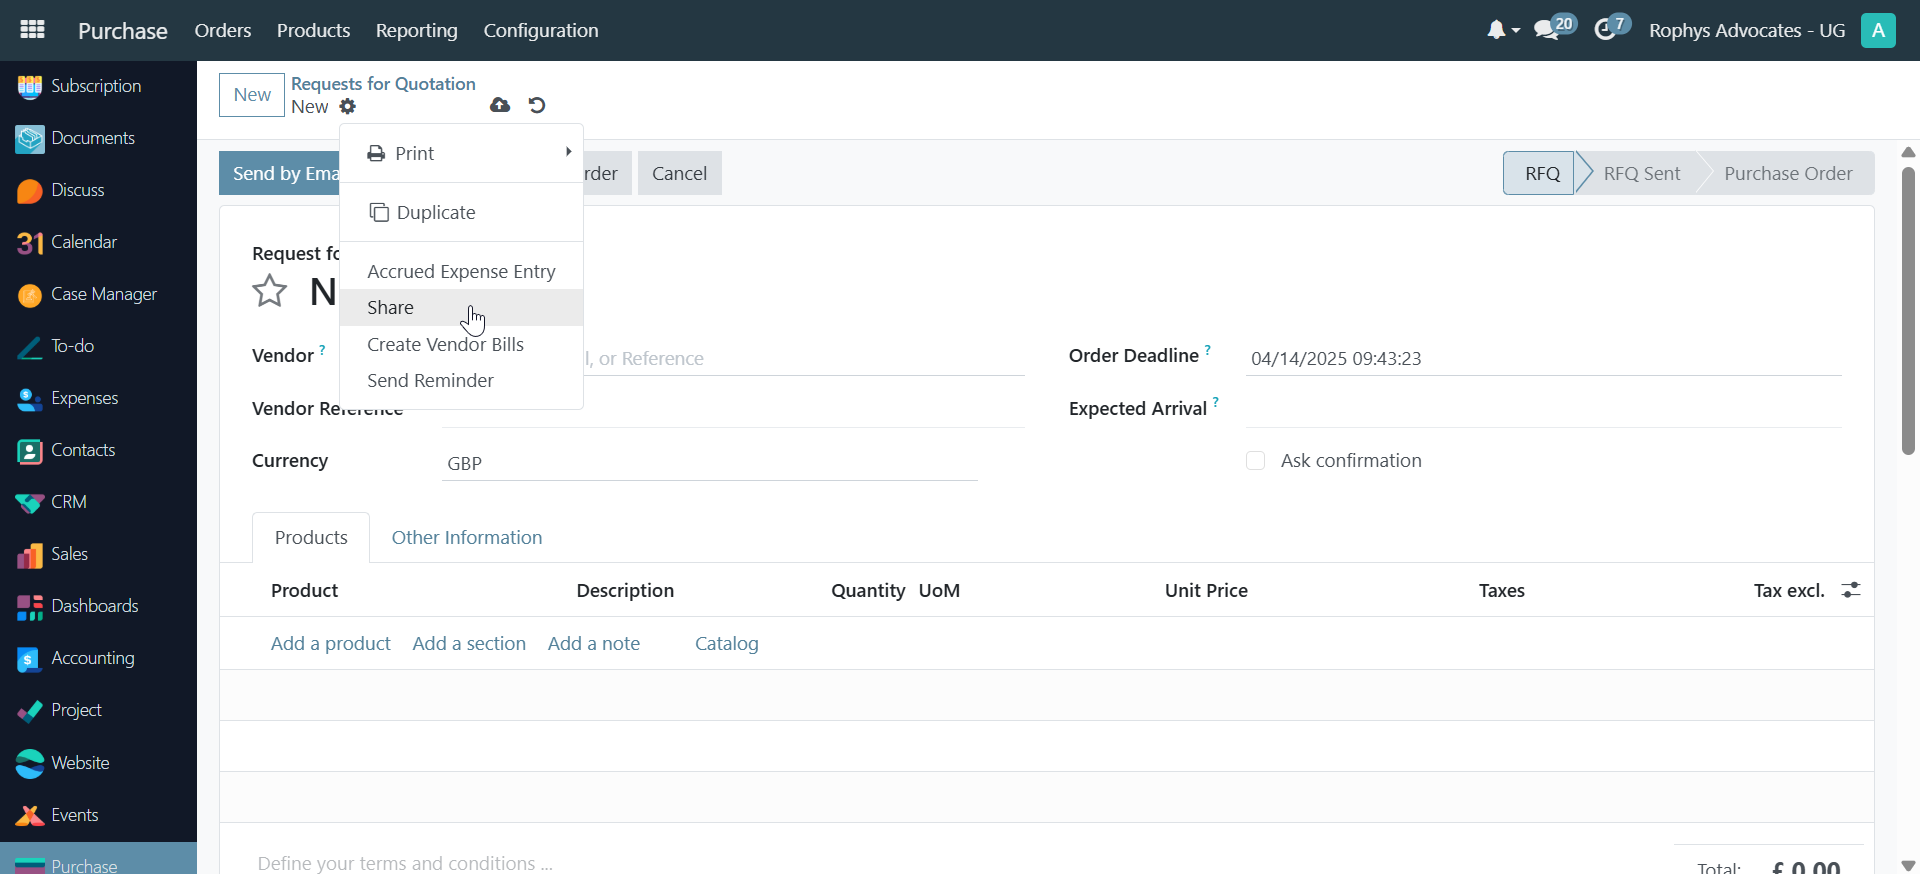
-
Select the user who should confirm

-
Add a message (e.g., "Please confirm this order")
-
Click "Send"
-
The assigned user will:
- Receive the message in their inbox
- Click on the provided link to access the RFQ
- Review the details
- Click "Confirm Order" to change the status to "To Approve"
-
Share back to the requester with a message (e.g., "Confirmed, please approve this")
-
The original requester will:
- Receive the confirmation message
- Click on the provided link
- Review the confirmed order
- Click "Approve Order"
- The order is now locked and ready for next steps
Sending RFQ to Vendor#
After approval, send the purchase order to the vendor:
-
Click "Send PO by Email"
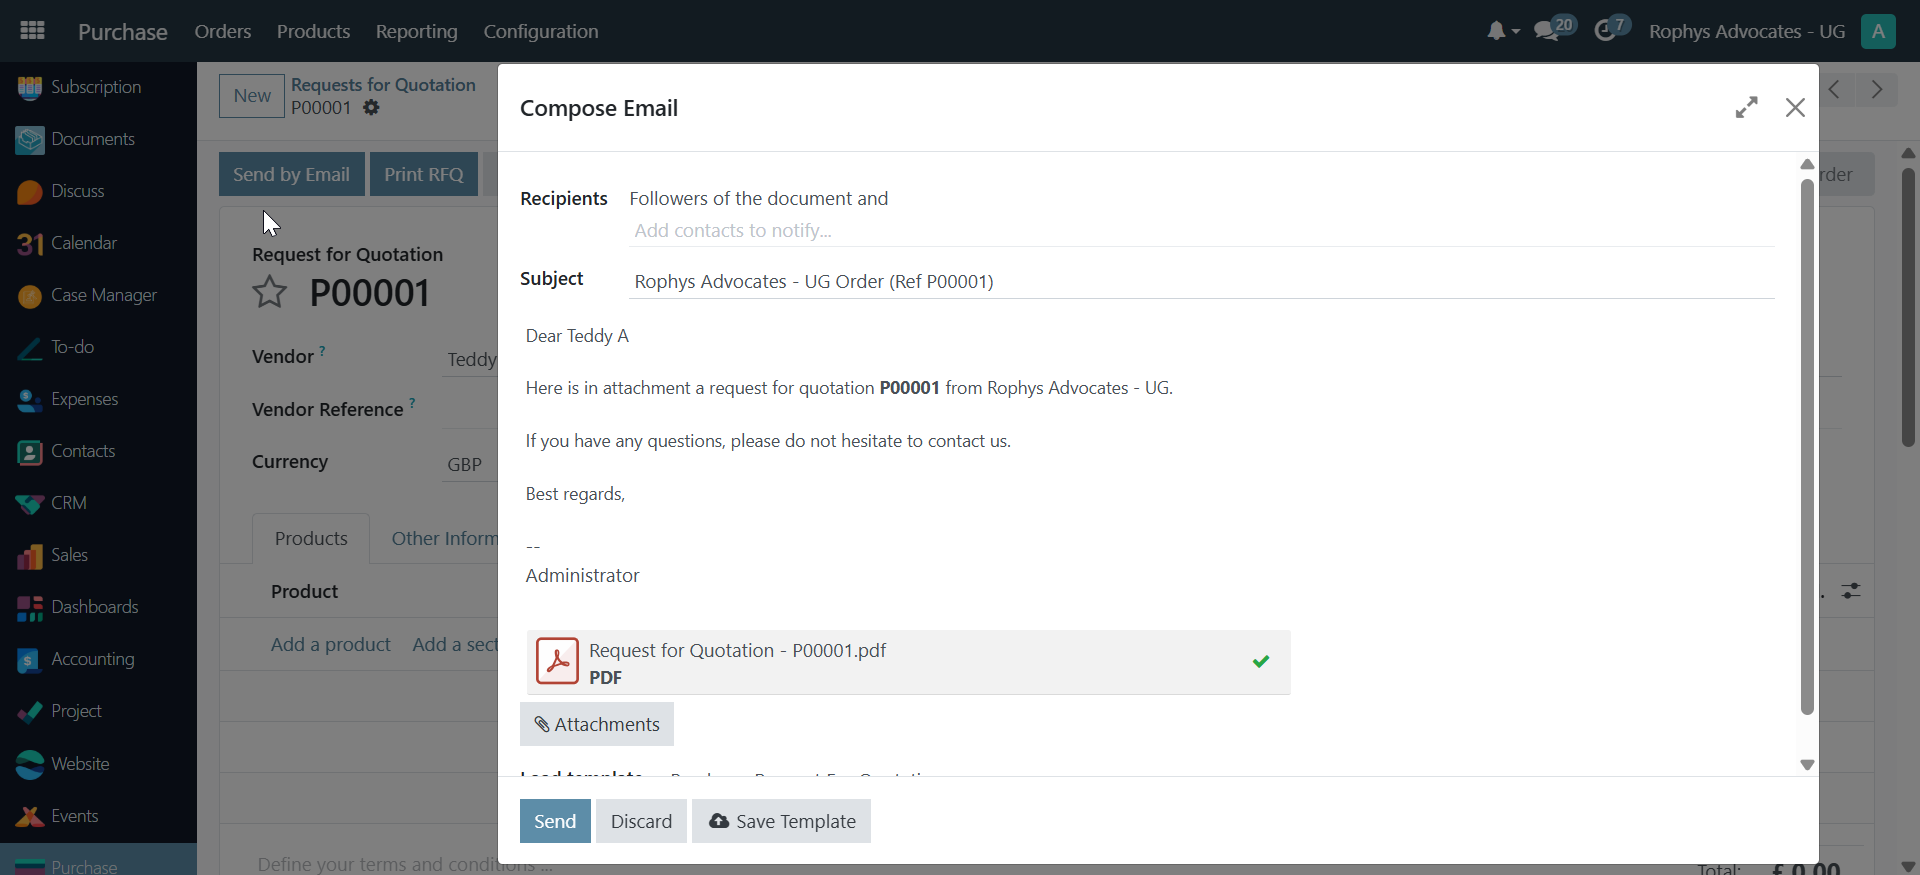
-
Select the vendor as recipient
- Review the email template (subject and message)
- Click "Send" to deliver the purchase order to the vendor
Creating Bills and Credit Notes#
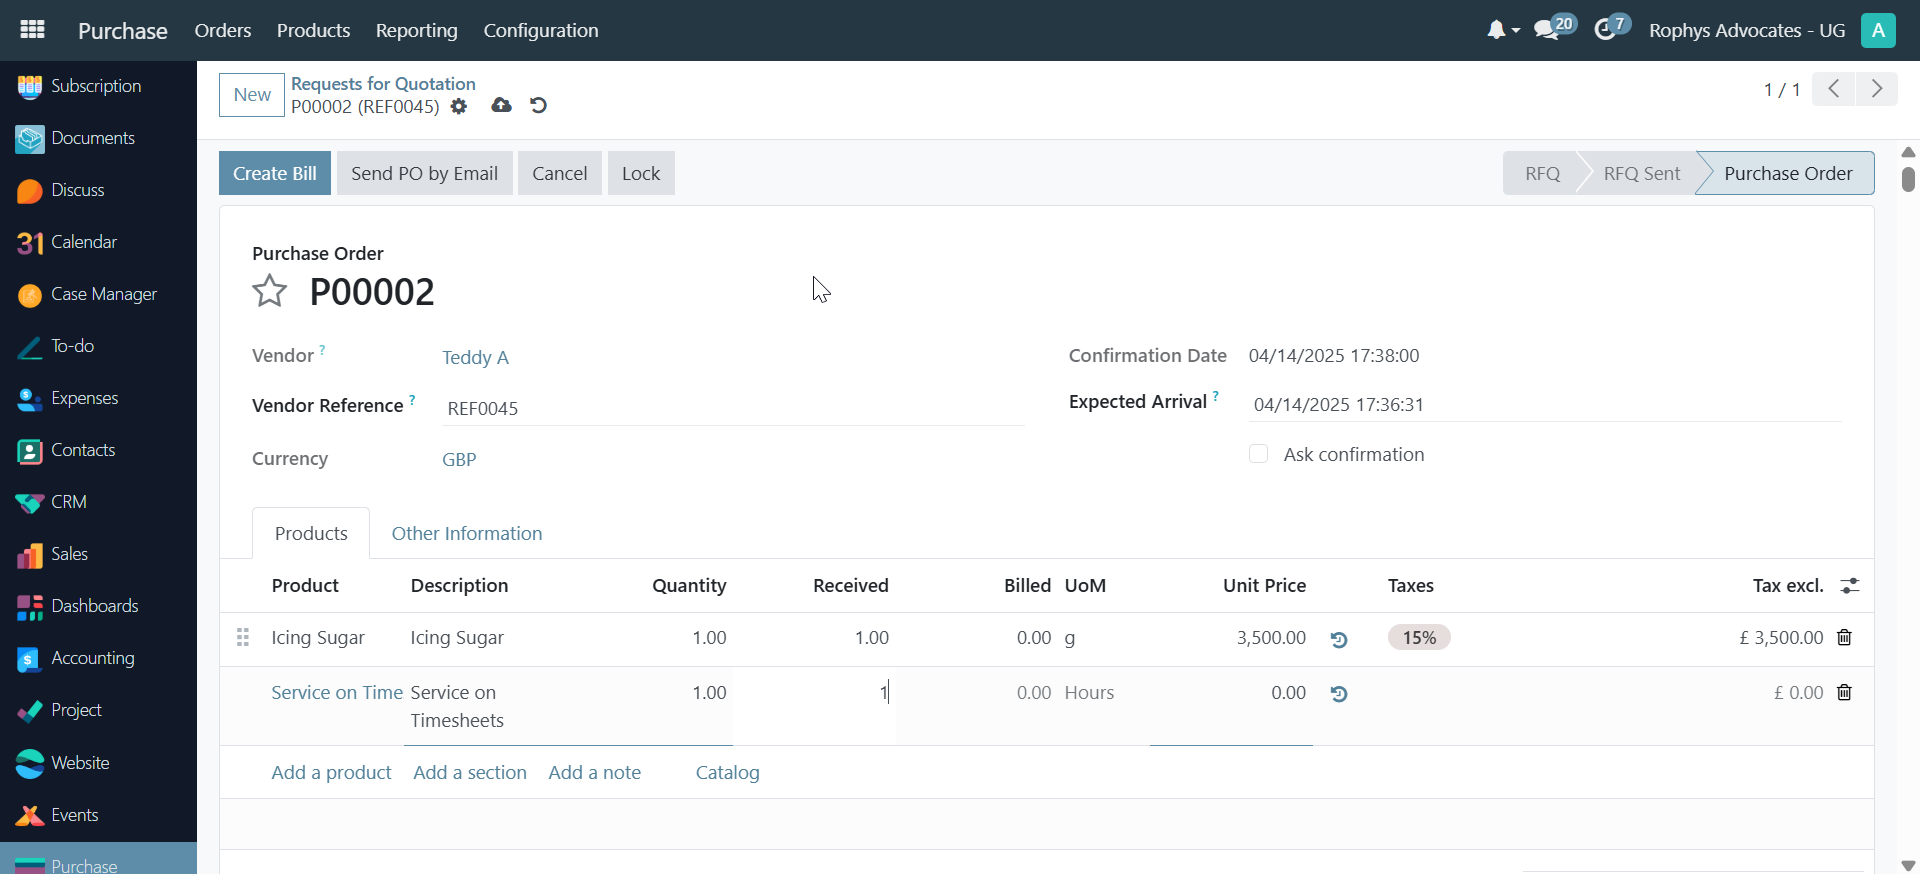
Once products are received:
- Update received quantities in the purchase order
-
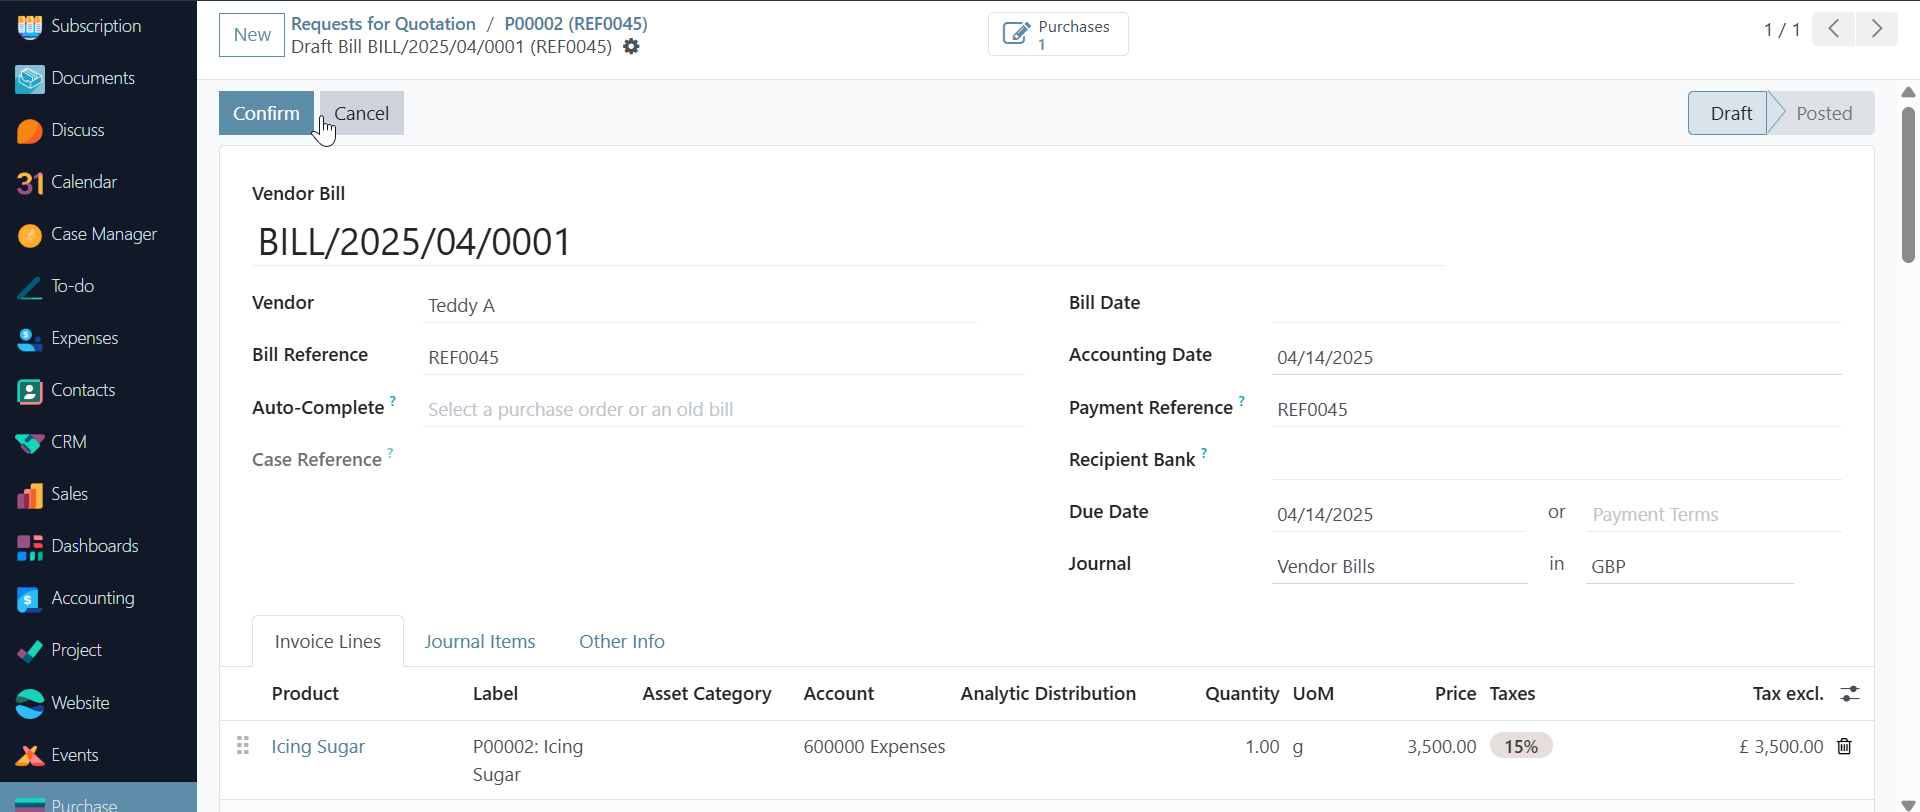
Click "Create Bill" to generate an invoice
-
Set the bill date (must correspond with your accounting date)
-
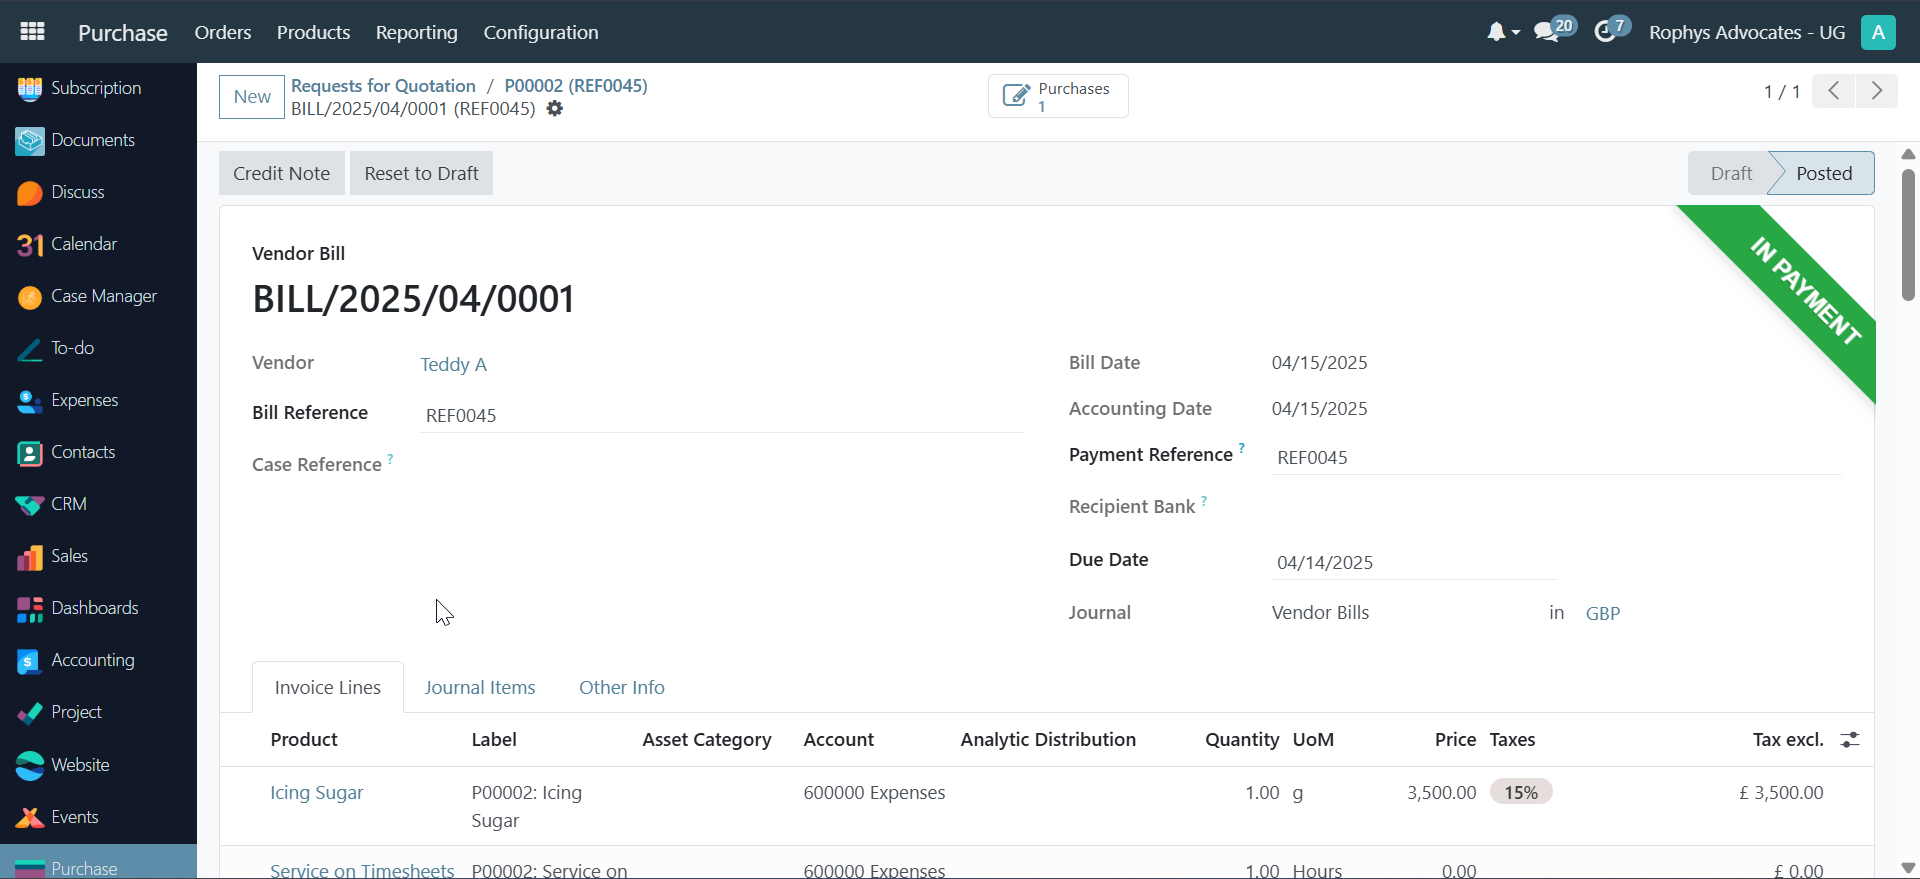
Click "Confirm" to finalize the bill
-
Register payment or create a credit note if needed
For credit notes (when products are not fully delivered):
-
Click "Credit Note"
-
Enter reason (e.g., "Pending 2 chairs")
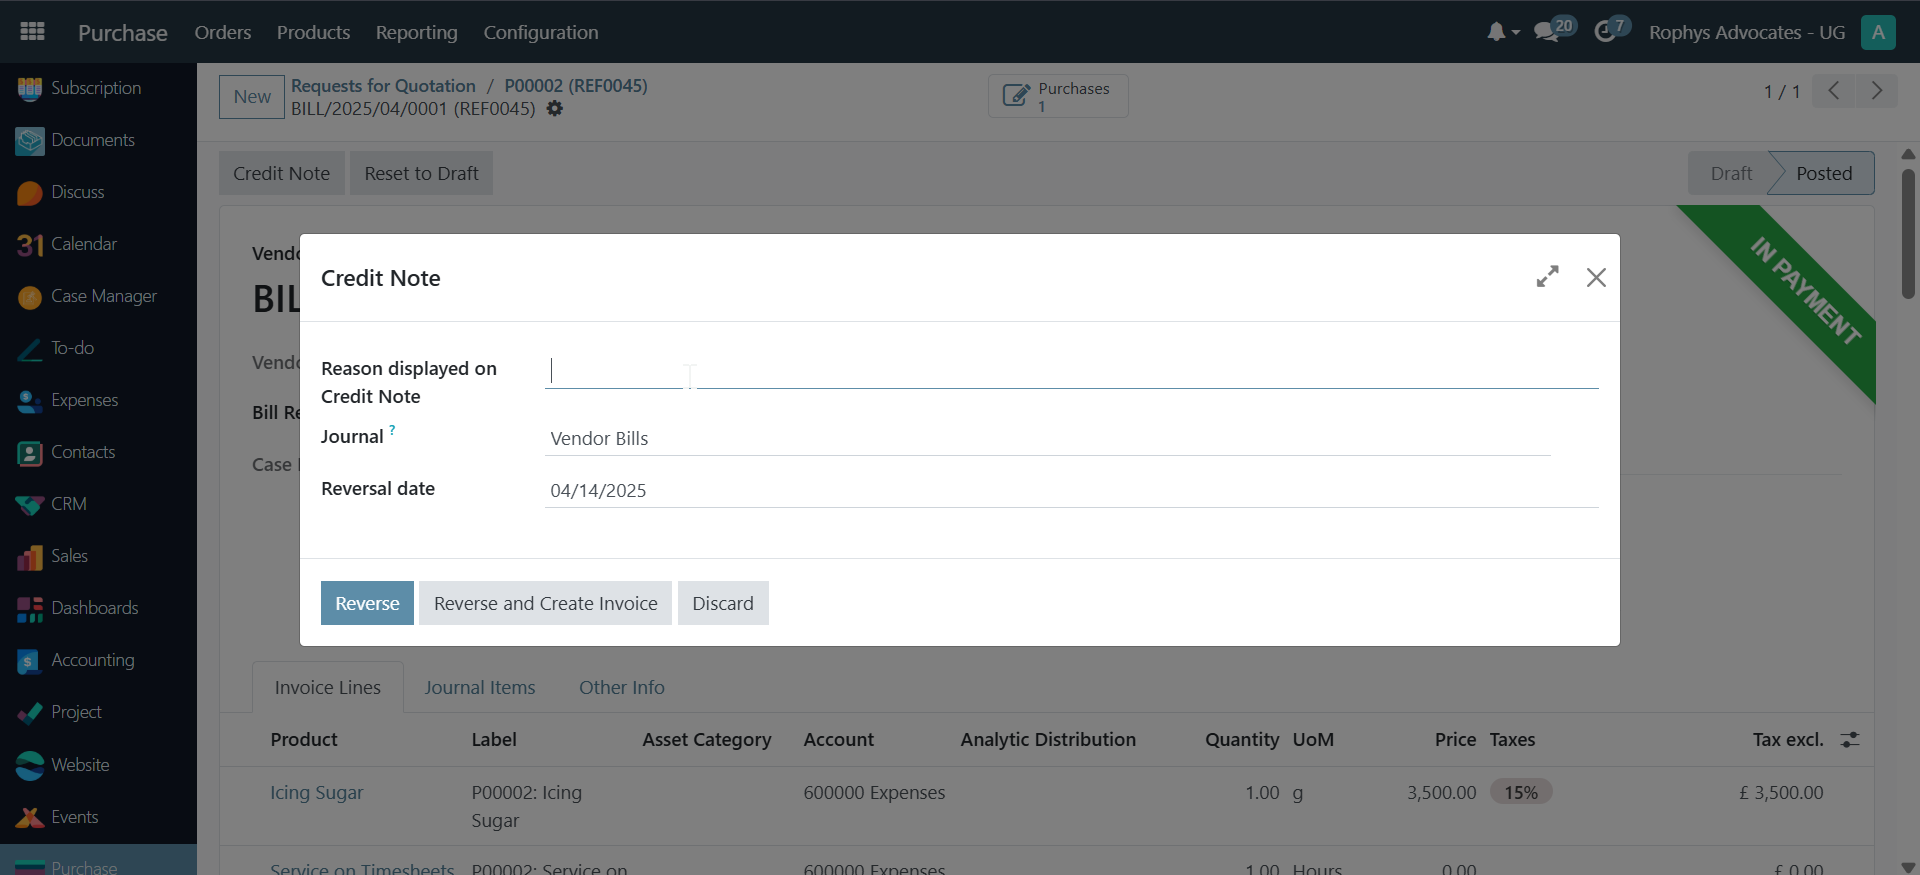
-
Click
Reverse, if you'd like to create an invoice clickReverse and Create Invoice -
Share with relevant team members for confirmation
-
Register payment for the credit note if approved